PowerSkating
Guru Blog
SUMMER CLINICS
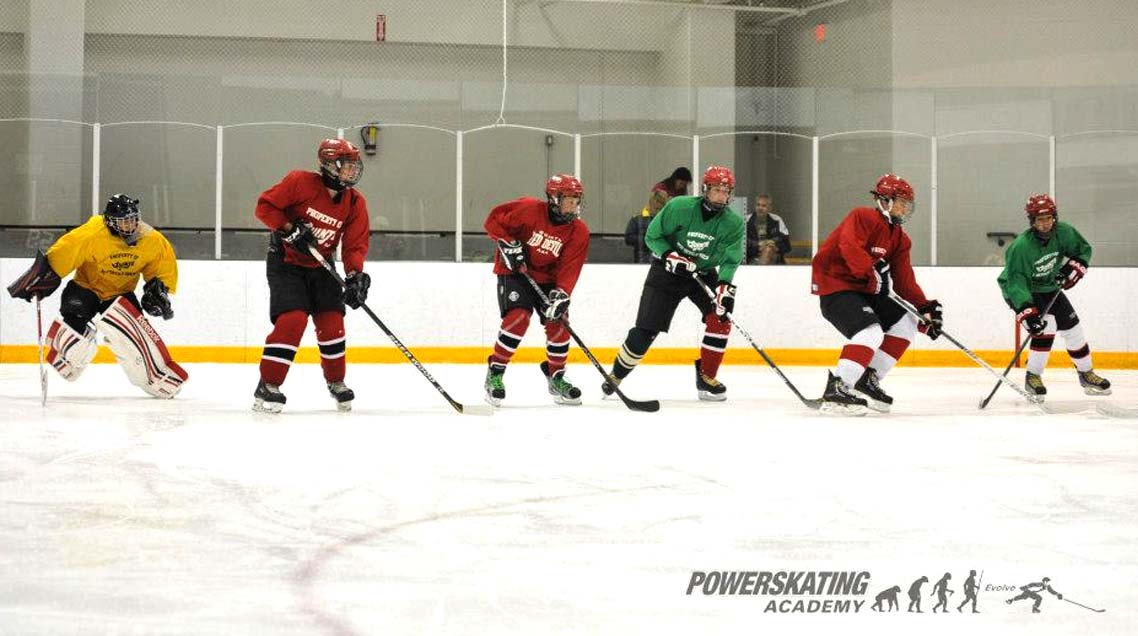
Did you know that we run 4-day clinics? We schedule clinics at 3 different points of the year: March break, summer, and Christmas. Exact dates will be available on our website and socials. Our clinics are a great opportunity to improve significantly in a short period of time! We condense the training program from our classes into 4-days with carefully planned progressions. Each day consists of two one-hour sessions that focus on both skating and puck skills.
The first hour of the day imitates our normal skating classes. It focuses on technical skating and is broken down into two parts: edges (foundational skating) and hockey skating. The edge side helps develop blade awareness, edge work, knee bend and posture. The main purpose of the edge side is to build a strong skating foundation to allow the edge skills to transfer over to hockey.
READ MORE
The hockey skating half focuses on forwards and backwards stride, starts, stops, turns pivots and transitional movements. They are the more traditional movements that you see in a hockey game! Although the edge side is not entertaining to watch, it is incredibly valuable to our skaters because everything you do in skating is on your edges. The stronger your edge skills are, the stronger your hockey skating is!
The second hour of the day focuses on puck and stick skills. Skaters rotate through two or three stations, each with a different focus: shooting, stickhandling, passing and receiving, and skating with the puck. We often have one of Tim Turk’s shooting coaches to help us teach! Tim is an NHL shooting coach with a wealth of knowledge, and we are very fortunate to have one of his coaches teach at our clinics. Even though the main focus of the second hour is puck and stick skills, we work towards transferring the skating technique learned in the first half into movement with a puck, creating well-rounded hockey players!
New skaters to our school will be group into an appropriate skill level and get introduced and educated in our skating program. If you have any questions about our clinics, don’t hesitate to send us an email at info@powerskatingacademy.com or a DM on Instagram or Facebook!
See you on the ice!
Dave Levtov
OFF SEASON TRAINING
READ MORE
For individuals who want to skate with us over the summer, they can sign up for our classes at schedule pages! There, you will find our weekly class schedule.
If you’d like to organize your summer in advance and prepare for the season, our end of summer Clinics can be found here ! There, you will find our summer clinic schedule.
For the coaches looking for team training over the summer, we have several options to suit the needs of your team.
Firstly, we can run sessions similar to our normal classes on your practice ice. We work in collaboration with your coaches to tailor the classes to meet your team’s needs specifically. These types of classes are best done on a consistent basis whether that’s weekly, or bi-weekly. This allows for consistent progression and improvement throughout the summer. Secondly, we can run your training camp for your team. This can be a weeklong camp, where we run an on-ice program that is specifically designed to help your team be ready for the new season. This may include our edge focus, alongside our stride development and transitional movements, in addition to puck work such as passing, stickhandling, and shooting.
Lastly, we can run a team assessment that includes both on and off-ice testing. On the ice, we would assess the skating stride and speed of each skater and provide individual reports and an overall team ranking. Off the ice, we would assess the biomechanical movements of each skater as well as their anatomical structure. These assessments give each skater a benchmark of their skating and body biomechanics and will provide them with a tangible goal to strive for! To learn more about our assessment program, please see our Skating Performance System here.
It’s important to note that for teams who want to skate with us, they are not limited to any one option! We can provide as many services as you want, which can also continue into the season! If you have any questions, don’t hesitate to send us a DM or email us at info@powerskatingacademy.com
See you on the ice!
Dave Levtov
PRIVATE LESSONS
READ MORE
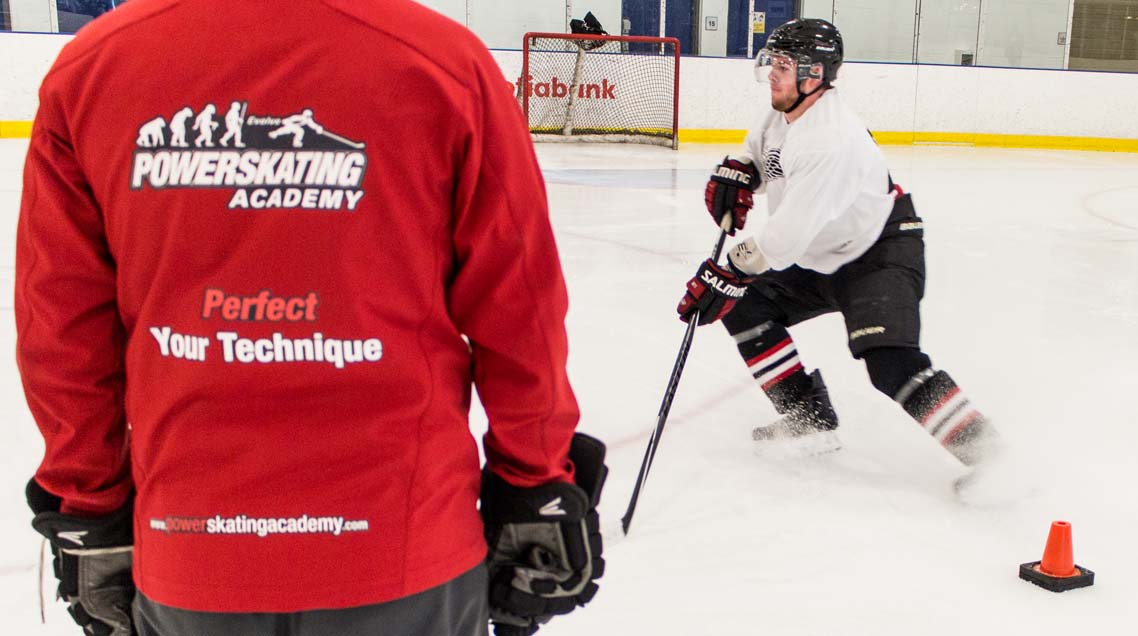
Through the nature of one-on-one lessons, an intimate connection will be formed between the coach, player, and parent. This allows the coach to push the mental and physical capabilities of the player while teaching the parent the most important cues to look for in the game/practice. This parent-skater-coach triangle is a powerful tool for your son/daughter’s success.
For younger athletes, private lessons offer an opportunity to gain information quickly and target specific areas in their development. It homes in on specific areas to allow players to reach new levels that they are on the cusp of.
With that being said, I think of private lessons as an earned privilege. They are more intense and exposing; they require more focus to get the most out of them. Private lessons are also considerably more expensive and are not for everyone. However, they are an incredibly powerful tool for an athlete when they are ready.
See you on the ice!
Dave Levtov
team training
Many of you know us from our skating classes, but what you might not know is that we also train teams! We can prepare and run practices for teams of any age and skill level. Our practices focus on power skating and technical skating, with the option of incorporating or adding technical shooting and/or puck skill.
Depending on your team’s needs and/or budget, we will send 1-3 coaches to run/co-run your practice at a 5:1 player coach ratio. We find that a 5:1 player coach ratio is the best ratio to give technical corrections while maximizing repetitions without bag-skating players (it’s hard to make technical corrections and even harder to make them when you’re tired).
READ MORE
Our team training is structured in a repeating pattern of assessments and developments to ensure progression towards your team’s goals. It starts out with a discussion between one of our directors and one of your coaches about the teams needs and aspirations. We would then run a session with 3 of our coaches to evaluate the skill level of your team. This allows us to recommend a development plan with your team’s needs and desires in mind. Depending on your team’s development timeline, we would reassess the skill of your team every 6-8 weeks (if you opt for an 8-week period, there is less room for changes based on reassessments compared to a 20-week period). All development decision would be made in collaboration with your team’s coaching staff to ensure that your players are progressing towards your end goal.
We encourage all of your coaches to join us while we’re leading your practice to see different ways of teaching and correcting. This also allows you to understand the cues we give and correct your team when we’re not around for a consistent message.
See you on the ice!
Dave Levtov
The Method Behind the Madness
For those of you who don’t know, my name is Dave Levtov and I have this blog to help, educate and make you think. I grew up playing hockey and music throughout junior high and high school. My minor hockey coaches kept telling me to “try harder”, “go faster” and “I hope you grow”. That didn’t allow me to hone my skills in team practices; most of my learning was done on a D.I.Y. backyard rink.
However, in music, I had incredible teachers who gave great technical lessons that educated and inspired me. As a result, I became a professional musician. In early adulthood, I was exposed to elite figure skating where a light bulb turned on. I saw the direct correlation between hockey skating and figure skating. PowerSkating Academy was formed as a conglomerate of hockey skating, figure skating, music study and performance, functional movement, and proprioception.
READ MORE
Let’s first agree on one thing: hockey is a game of sprints. If both teams are equal in skill but one team is faster, the faster team will have the advantage. Because fast skating is so effective in hockey, I’ve had numerous parents come up to me saying:
“Why are they skating so slow? You can’t get faster by skating slow, they need to be skating faster!”
“My son/daughter can do that already, why isn’t he/she being moved up in skill levels?”
“This doesn’t look like a real hockey practice.”
And to that, I have to say yes. Yes, we teach skills at a slow pace, yes, your kid can do that skill, and yes, this doesn’t look like a “typical” hockey practice, but these answers aren’t interview answers, they’re things we ACTUALLY believe in.
Like many great teachers, I take core concepts from other avenues and implement it into my hockey school. For example, when you’re learning how to play a new song on guitar, would you try to play the song full speed, or would you take it slow? Learning new skills slowly allows for you to create good habits. In turn the repetition of these “good habits” over time create a neural pathway from our brain to our muscles allowing for what people call “muscle memory”. The problem when you want to always skate fast–even in practice–is that it produces a multitude of errors in the beginning – technique, posture, timing, etc. Even if you start correcting some errors, new compensation errors will inevitably pop-up, making you less efficient. Our goal at PSA is to solidify a strong foundation in your muscle memory, so that you can continually build upon that skill and use it in a game with confidence whenever you need!
Well, now you’re saying your son/daughter can already do that skill, and yes, he/she has learned that skill but it’s not to our satisfaction (we are very picky). Let’s use a tight turn as an example: aside from the little ones, the majority of hockey/ringette players can turn around a pylon and stay on two feet. That might be good enough for some people, but we’re different; our coaches look for a couple key things during the turn:
Are they on both feet? Is one foot on an inside edge and the other on an outside edge? Where is their weight during the turn? How is their posture? Are their knees bent and in front of their toes? What is their head looking at? Where is their stick and what is it doing? Are they accelerating or decelerating through the turn?
A lot of younger students have strong inside edges, but struggle on their outside edge. A weak outside edge will hurt you when you do more complex movements like a cross-over. During a cross-over, it is important that skaters are using both their inside and outside edges effectively to generate the most amount of power. We would love to promote your son/daughter to a higher level, but we want to see them become more of a well-rounded skater first!
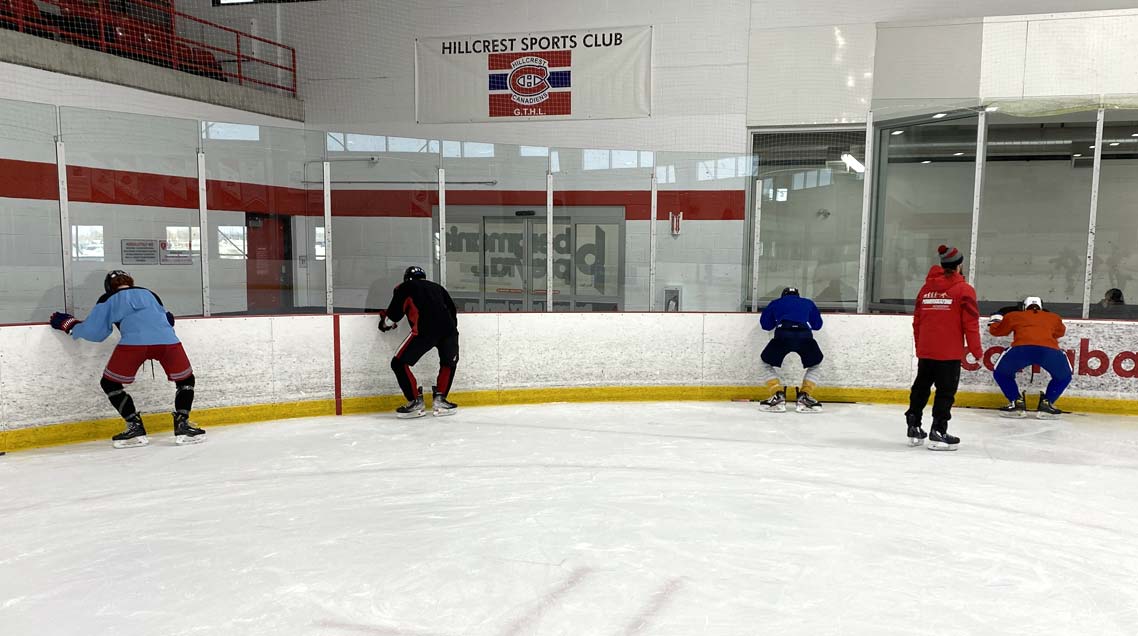
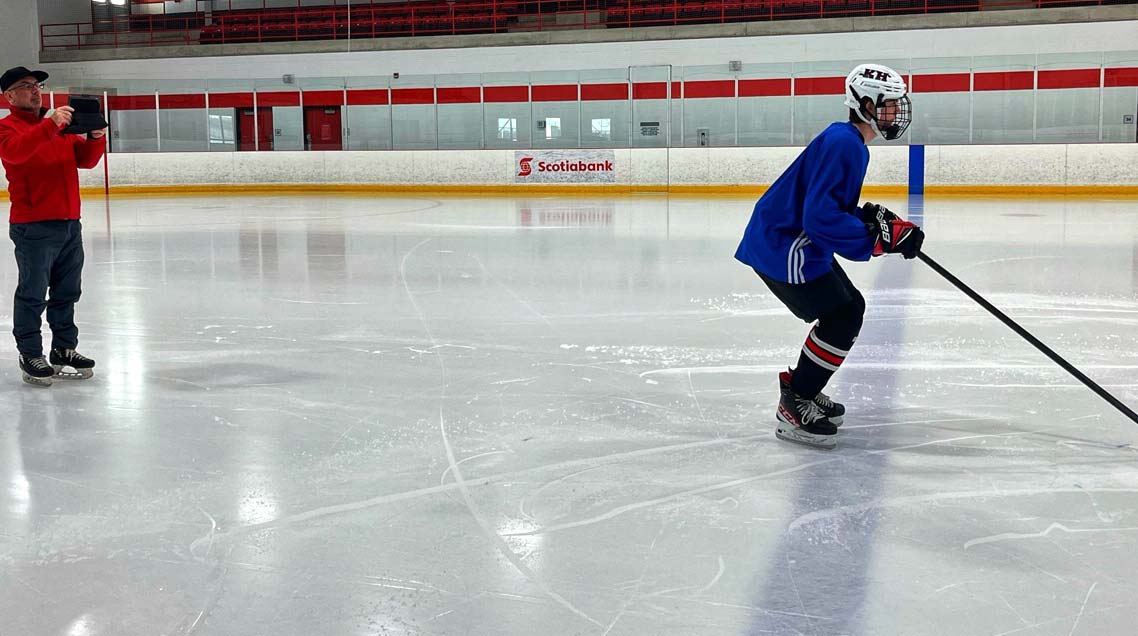
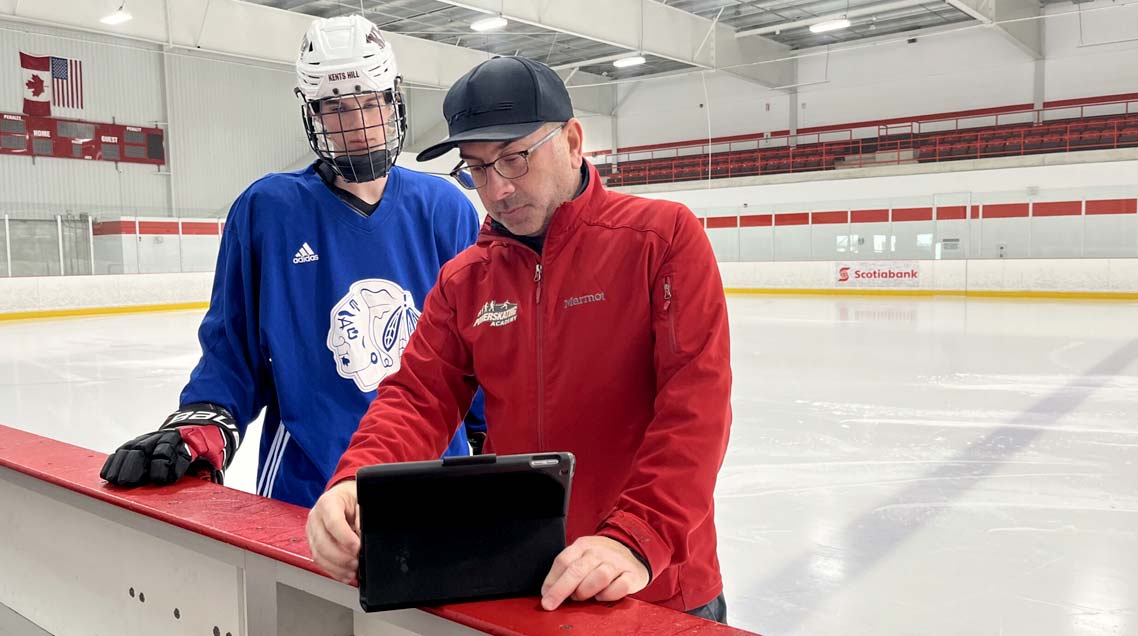
As for the elephant in the room, our practice doesn’t look like other practices. You’re correct! We pride ourselves in technical lessons, where information can be disseminated in 3 different ways: audibly, visually, and using physical manipulation. We manipulate your body into the correct technique to kick start your muscle memory! Once you master the skill at slow speeds, we will test you with higher paced drills. We also understand the importance of edge control. Being able to use your whole blade – front inside edge, front outside edge, back inside edge, back outside edge and the flat – will provide you with more power, balance, and agility! Thus, we dedicate 20 minutes on edge work, whether that’s using figures or specific patterns.
With that being said, we want to see your son/daughter succeed and we believe that a deliberate, focused, hands-on, technical lesson with an emphasis on edges is the best way of doing so. Hopefully this helps you understand how we operate! As with any post, if you have any questions email us at info@powerskatingacademy.com or DM us on Instagram or Facebook!
See you on the ice!
Dave Levtov
QUESTIONS? GET IN TOUCH WITH US AT (416) 406-0550
Stay in touch with us
© 2023 POWERSKATING ACADEMY. ALL RIGHTS RESERVED.